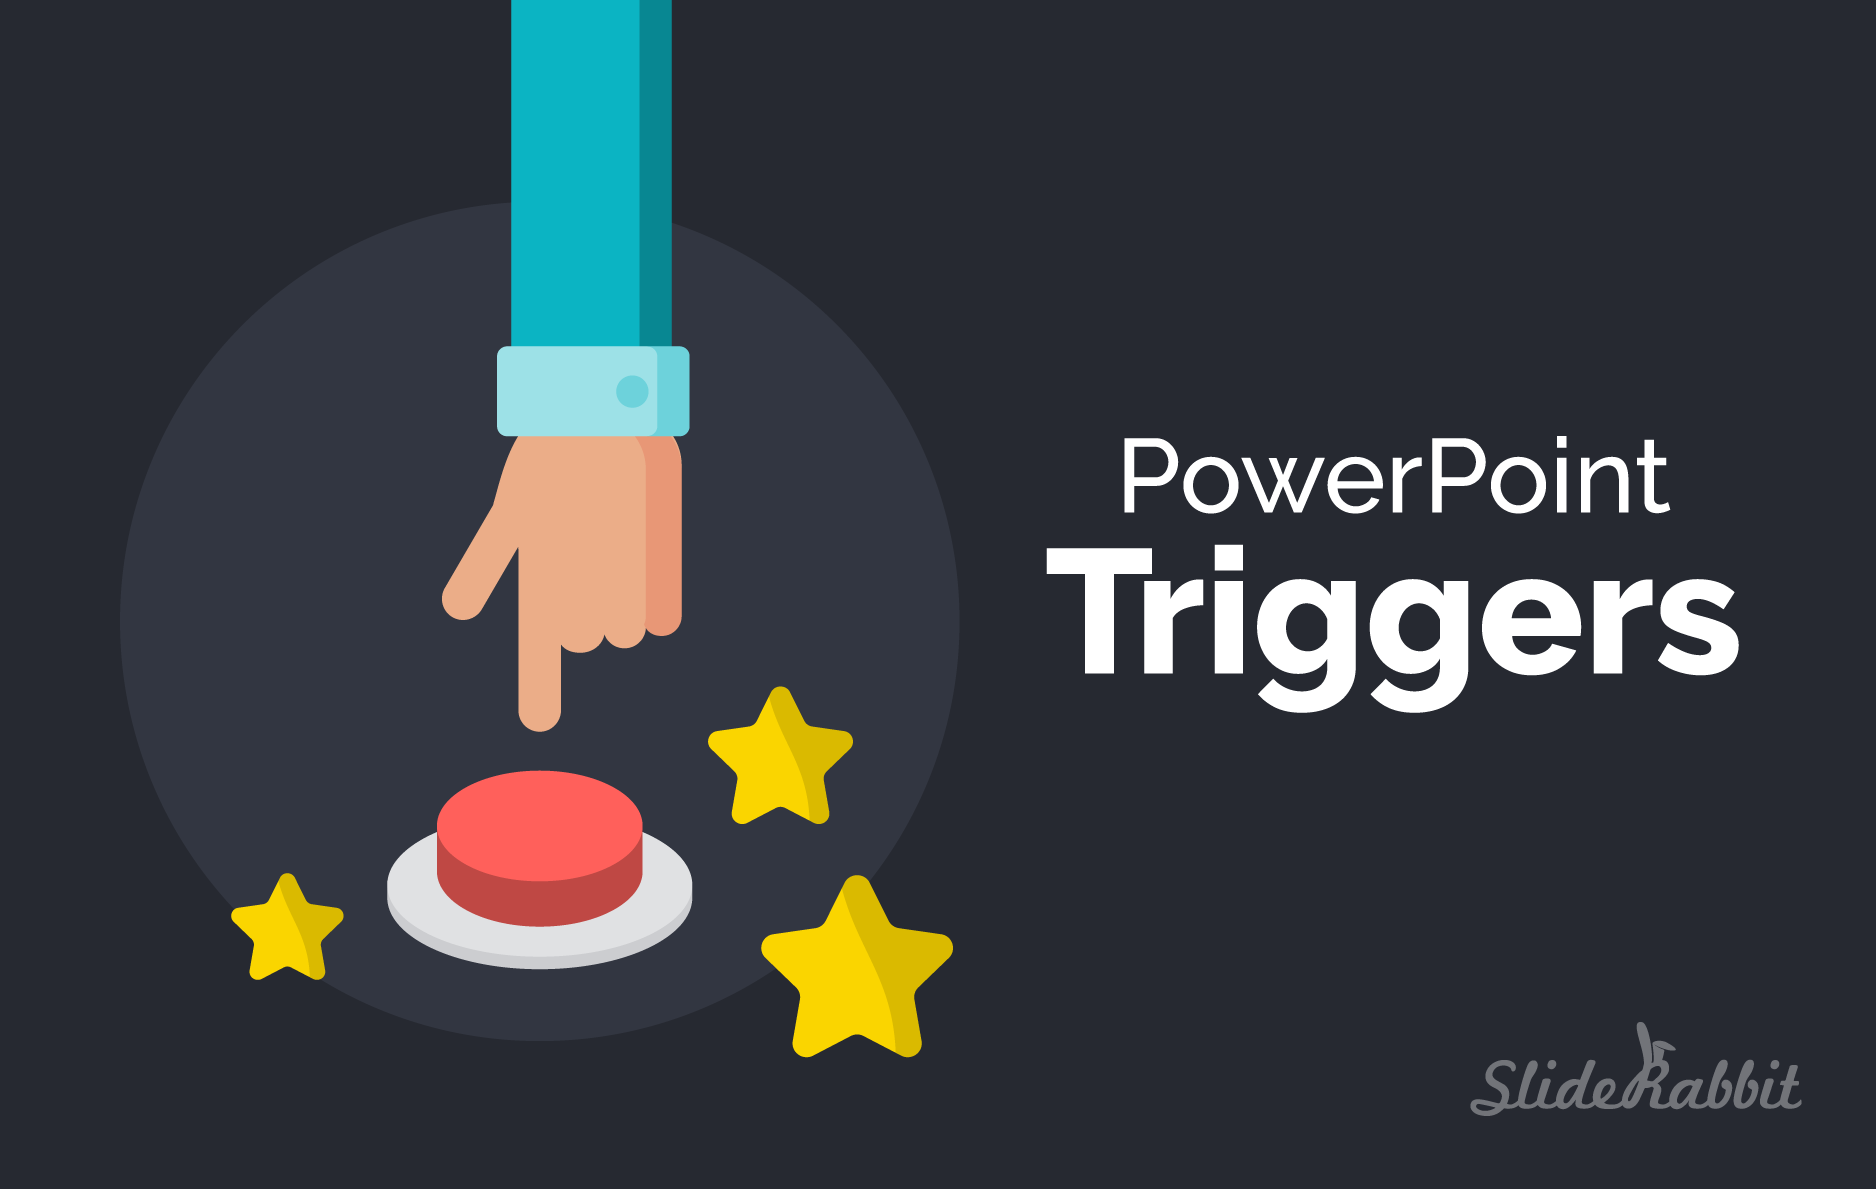
Engaging PowerPoint Training Decks with Triggers
At SlideRabbit, we design PowerPoint training decks, among many other deck types. Triggers, an alternative to traditional animation, help turn those training decks into interactive experiences and provide more freedom and creativity in how animations operate.
Unlike traditional animations, triggers are used to launch an animation or other action when clicking on an object on the slide. Further, you can easily create self-run training decks that can reveal text, or trigger audio answers from clicks by the user. Triggers also allow you to create multiple choices for animation or navigation, adding flexibility to what would typically be linear-only animations strings.
What Do Triggers Look Like in PowerPoint Training Decks

Thanks to triggers, instead of a linear animation order, the user can skip from square to square to interact and learn the information at his or her pace.
Essentially, what’s happening here is that clicking on the expand button triggers a specific set of animations. This could be used to any end, including more illustration-based animations or things like zooming into a diagram.
How to Use Triggers in PowerPoint Training Decks
Let’s take a closer look at just one square on this slide. We’ll first separate the top layer of design from the bottom layer to make it more visible (be aware: these two would be layered in the final product).
In the animation pane below, you’ll see that each trigger is followed by a series of animation actions. Play audio or video would also work under a trigger. The triggered items are marked with a lightning bolt directly on the slide. These items must be “sent to front” so they are always available to be clicked.
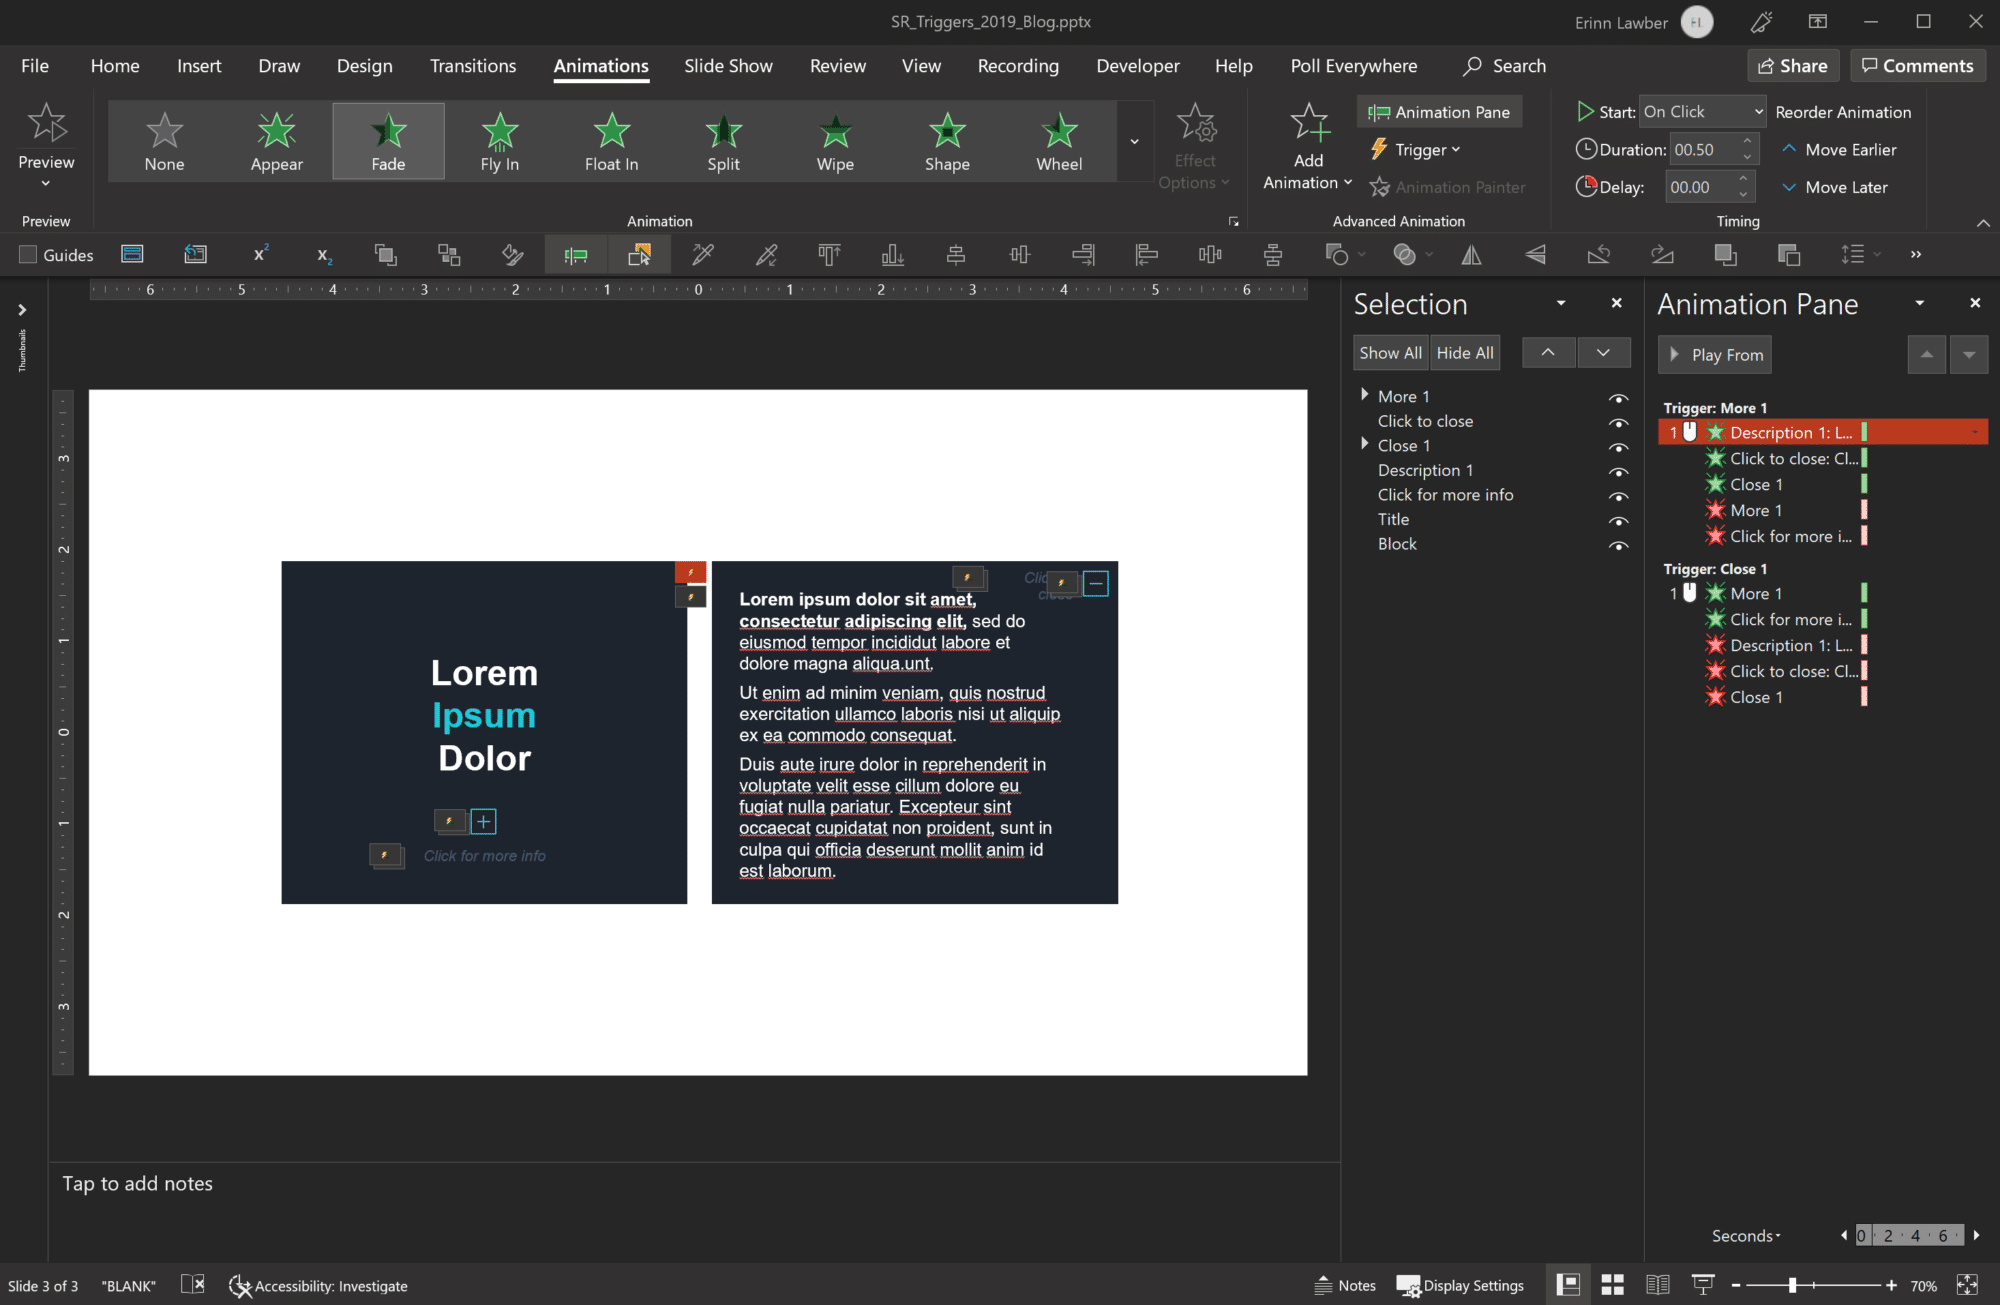
Here are some step-by-step instructions:
- Label all objects in the selection pane
- Identify what needs to happen on each click
a. What needs to appear?
b. What needs to disappear?
c. What object do you click to make this happen? - Apply animations to open the description
a. Apply entrance effects (Description 1, Click to close, Close 1)
b. Apply exit effects (More 1, Click for more info)
c. Apply trigger (On click of > More 1)
d. Move all animations under “Trigger: More 1” in the animation pane - Repeat steps to close the description
a. Apply entrance effects (More 1, Click for more info)
b. Apply exit effects (Description 1, Click to close, Close 1)
c. Apply trigger (On click of > Close 1)
d. Move all animations under “Trigger: Close 1” in the animation pane
Play around with triggers to see what you can create.
Want some help with triggers? Check out Microsoft’s help entry.
Or, better yet, just let us take it off your plate. We’ll happily design your next presentation. Drop us a line!
Wanna stay in touch? Sign up for our newsletter and stay tuned for more how-tos!


Leave A Comment
You must be logged in to post a comment.