Design PowerPoint Slides with Confidence
Previously we’ve shared insider design tips like using a grid when designing in PowerPoint. The grid helps keep all content symmetrical and organized, which helps the audience stay focused. Plus, the grid creates aesthetically pleasing content layouts.
Another extremely valuable design asset is the Smarter Guides tool. If you have PowerPoint 2010 or newer (Windows or Mac), you may have noticed lines that appear on the slide when moving content around. Think of these lines as a grid or a guide for maintaining consistency on the slide, similar to our tip above. This tool has continued to improve and is now at its peak. In PowerPoint 2016, Smarter Guides appears more frequently to help with repositioning, evenly spacing and resizing content onto the slide. If using this tool properly, no shape, image, or text box will feel out of place.
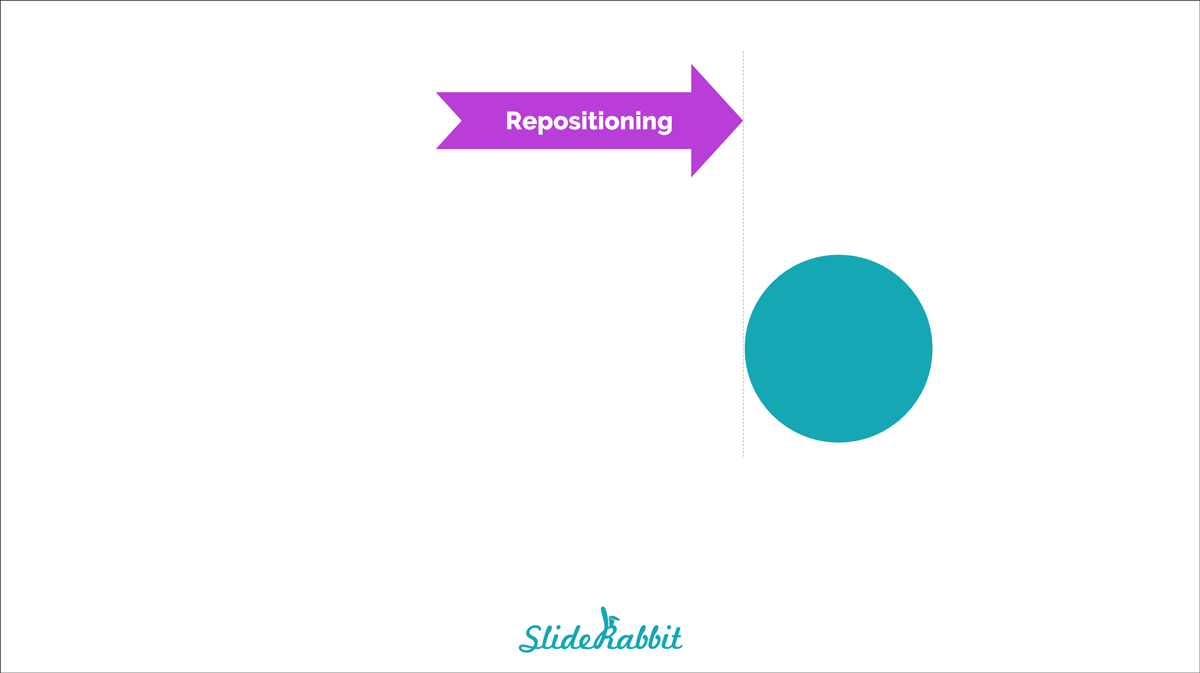
Repositioning
All objects should be symmetrically placed onto slides. To line up objects, drag Object A until the Smarter Guide line appears, lining it up with the edge of Object B. This tool helps align two objects horizontally or vertically.
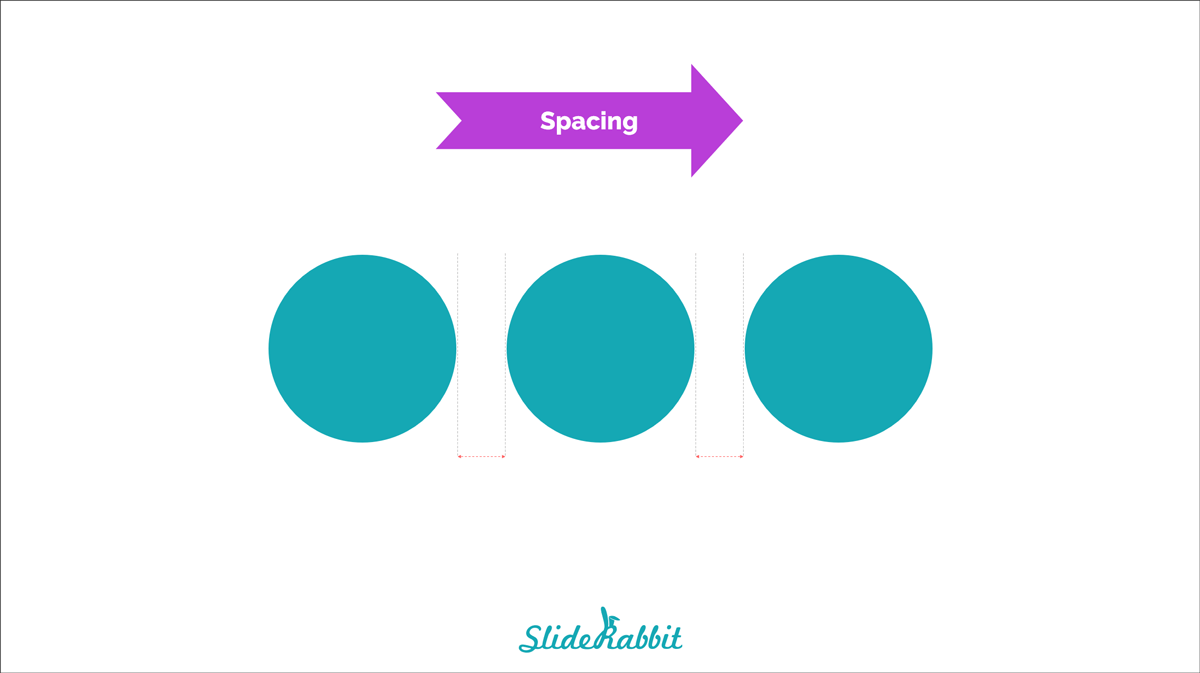
Spacing
The Smarter Guide tool is also useful for distributing objects evenly on the slide. Once the first object is in place, drag the remaining objects (one at a time) until the Smarter Guide lines appear. All objects are evenly spaced when a red arrow appears on both sides of the dashed lines.
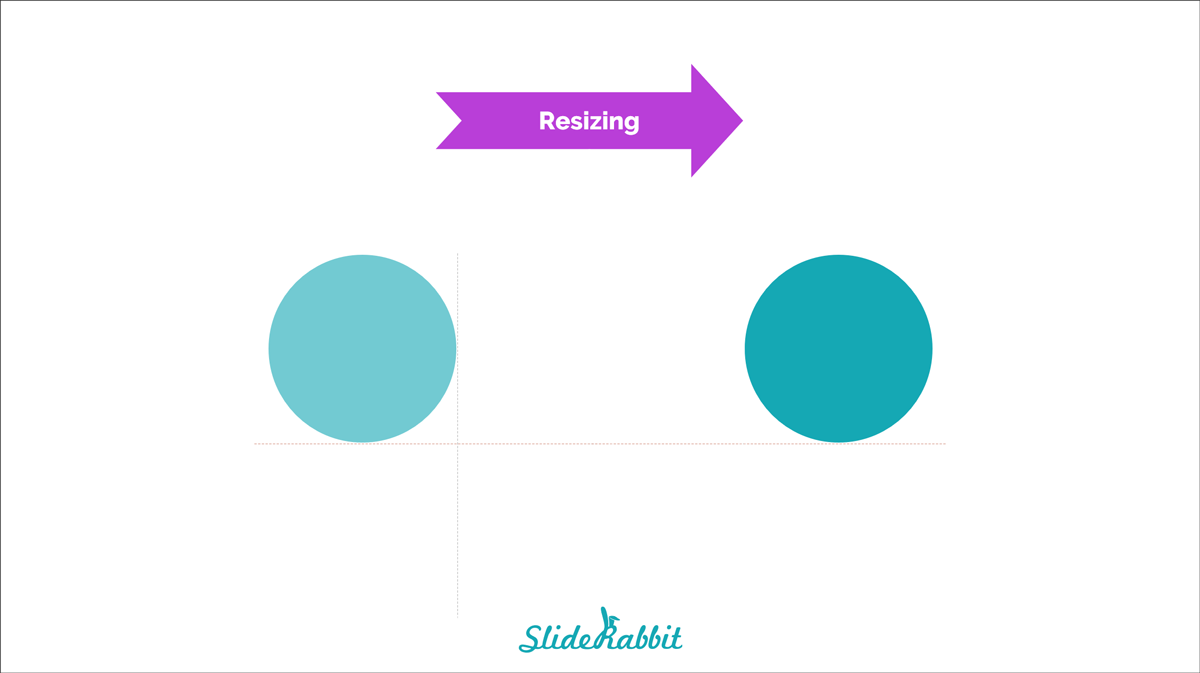
Resizing
Resizing objects to matching sizes is easy. Click on the dot on the corner of the object and drag it until the Smarter Guide lines appear on both sides of both objects.
Tip: hold down the Shift key to keep the object proportionate.
Using Smarter Guides will improve the visual balance of your slides. Try them out!
Need more help than Smarter Guide can give? Drop us a line.


Leave A Comment
You must be logged in to post a comment.